Flows
Introduction
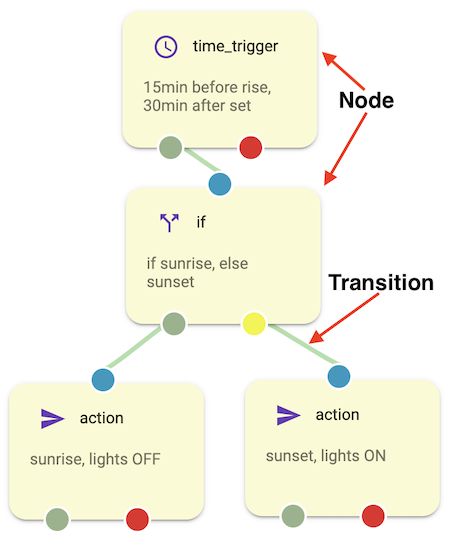
Thingsplex Flows is an automation engine. Each flow represents automation that is defined as a sequence of connected nodes (graph). Each node represents either flow trigger, data manipulation, flow control, or activity. Connections between nodes (edges) represent transitions from one node to another.
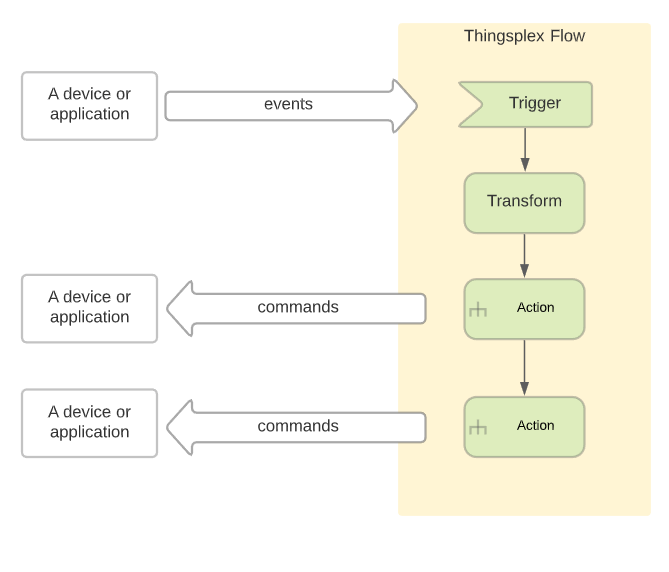
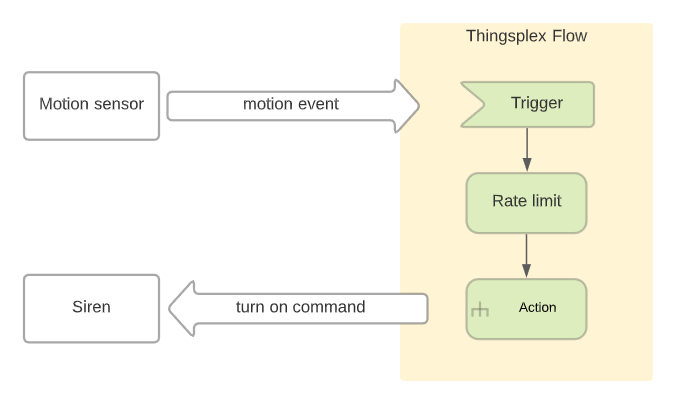
Example:
Example in Thingsplex flow editor:
Flow configuration
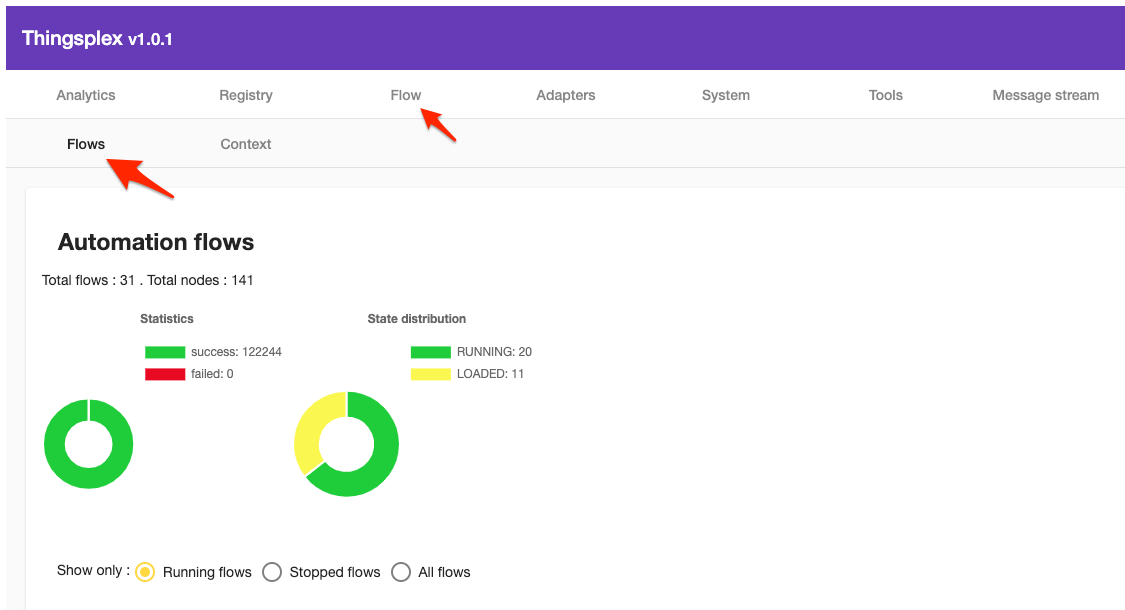
To create a new flow, a user has to navigate to the “Flows overview” section of Thingsplex UI.

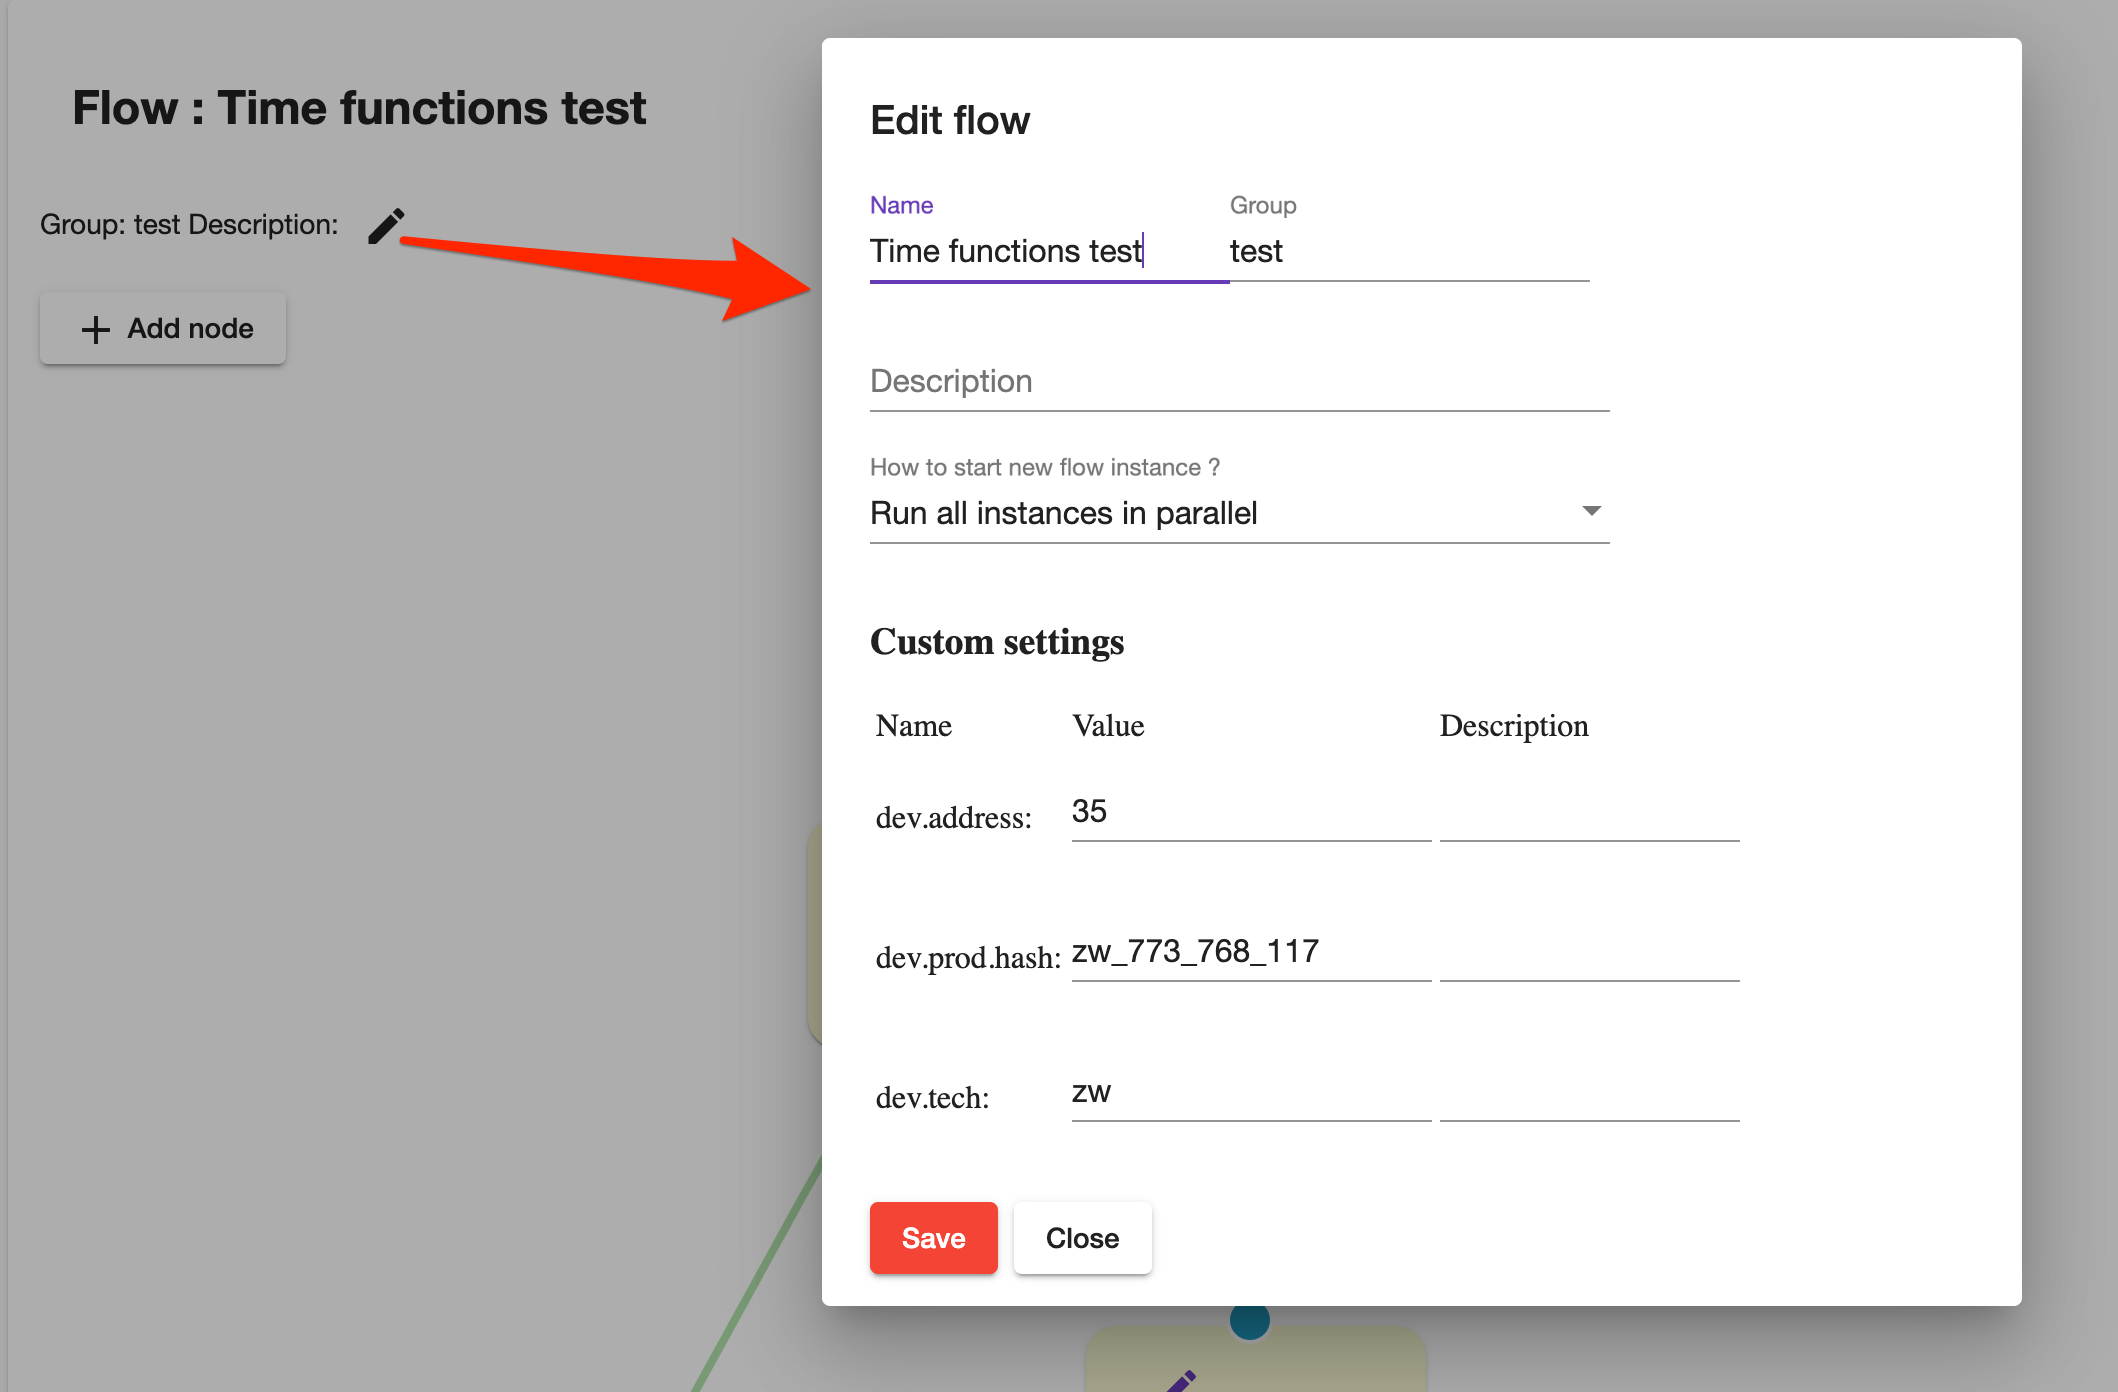
The user has to provide flow name, group, details, and how to execute new flows.
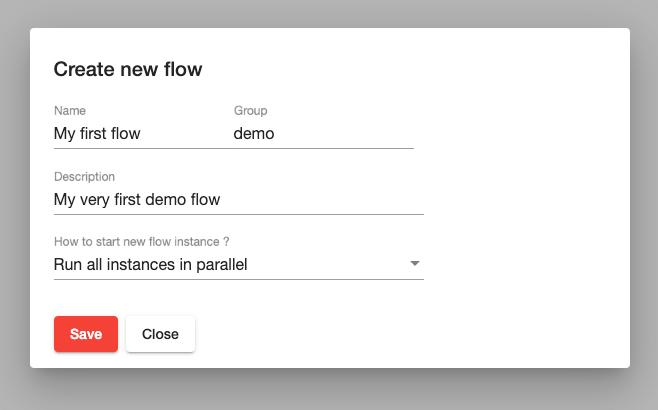
Flow engine supports three options of how the flow engine starts new flow execution (flow instance) :
- Run all flow instances in parallel.
- Keep already running instance and skip new flow instance.
- Start a new flow instance and abort all running instances.
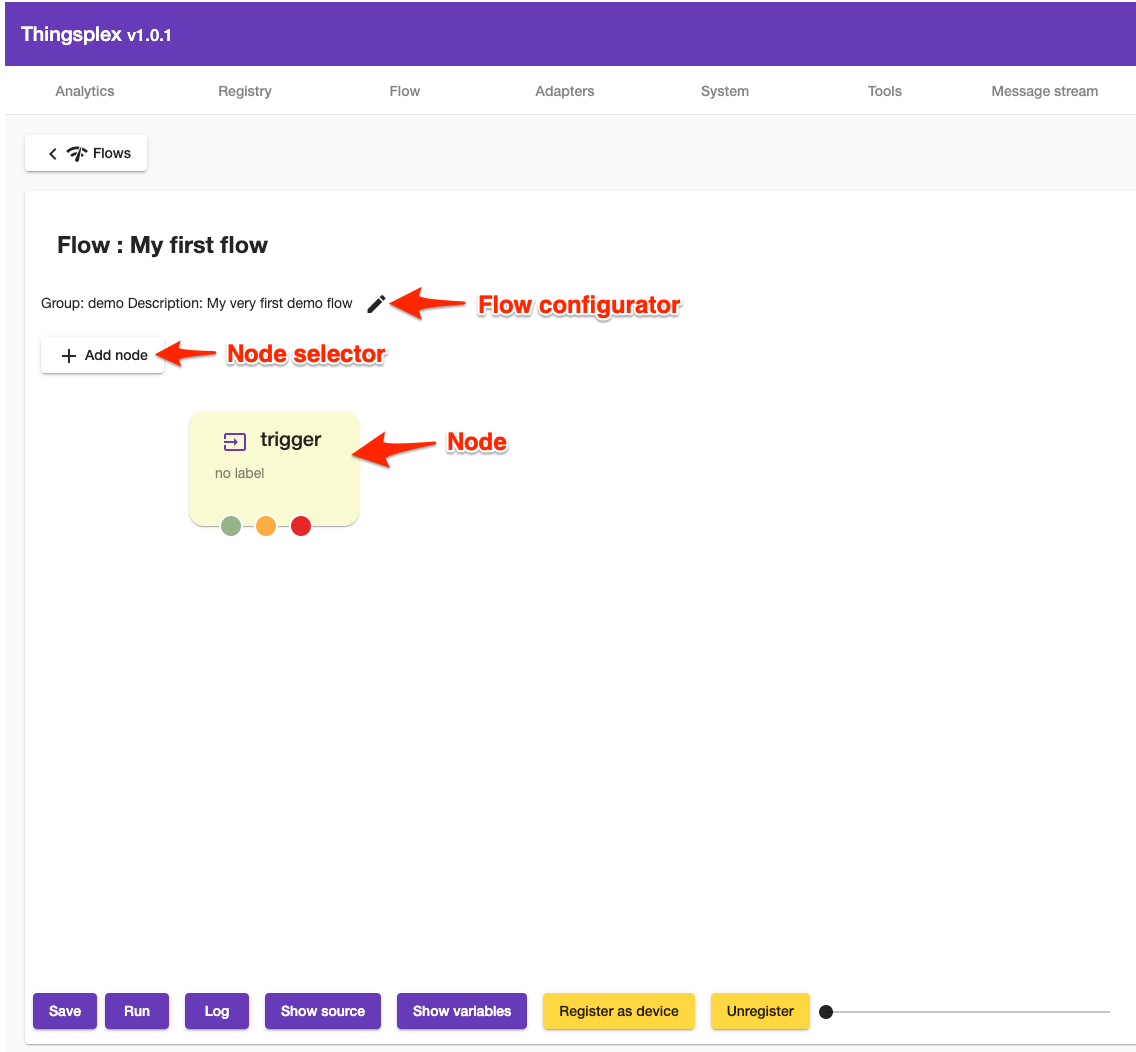
After submitting initial configurations, the user is redirected to the flow configurator view.
Nodes
Overview
All nodes except trigger nodes have one inbound connector and multiple outbound transition connectors. Trigger nodes don’t have an inbound connector.
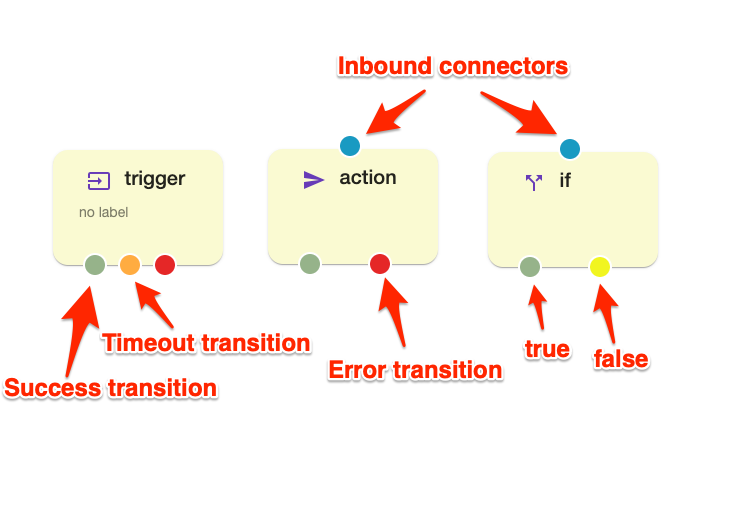
Outbound connectors can be one of 4 types :
- A green color connector means successful node execution or “true” for flow control nodes.
- A red color connector means an error or negative node execution.
- Orange color means timeout. Not every node supports timeout.
- A yellow color means the false outcome of a flow control node.
Nodes
All modes are divided into the following groups :
Variables
Sometimes, a user might need to save state or data and use it in another node or another flow. The data can be saved into a variable that can be used in any other node. Variables can be of 2 types:
- global - shared between flows.
- local - accessible only in the flow where it was defined.
Variables are also called “flow context.” . Thingsplex UI has a dedicated context introspection view. It can be used for viewing and updating existing variables and for creating new ones.

Settings
Settings represent set of flow configurations. Normally author of a flow might ask users to configure it after installation (import). Settings must be configured using special Settings UI.
